深入了解JavaScript:从基础语法到高级应用的全面指南

深入了解JavaScript:从基础语法到高级应用的全面指南
NGX准备工作
安装VSCode
一个轻量级代码编辑器

安装扩展
Live Server
VSCode直接搜索安装即可,注意不要安装错了

这是一个自动刷新页面的工具
开放后浏览器输入 127.0.0.1:5500 就可以看到你的网页了。
Error Lens

这是一款代码优化工具。

安装主题(可选)
非常经典且好看的一款主题, 非常适合编写网页.


链接JS
内联 JavaScript
你可以直接在 HTML 文件中使用 <script> 标签编写 JavaScript 代码。代码会嵌入到 HTML 文件中。
1 |
|
外部 JavaScript 文件
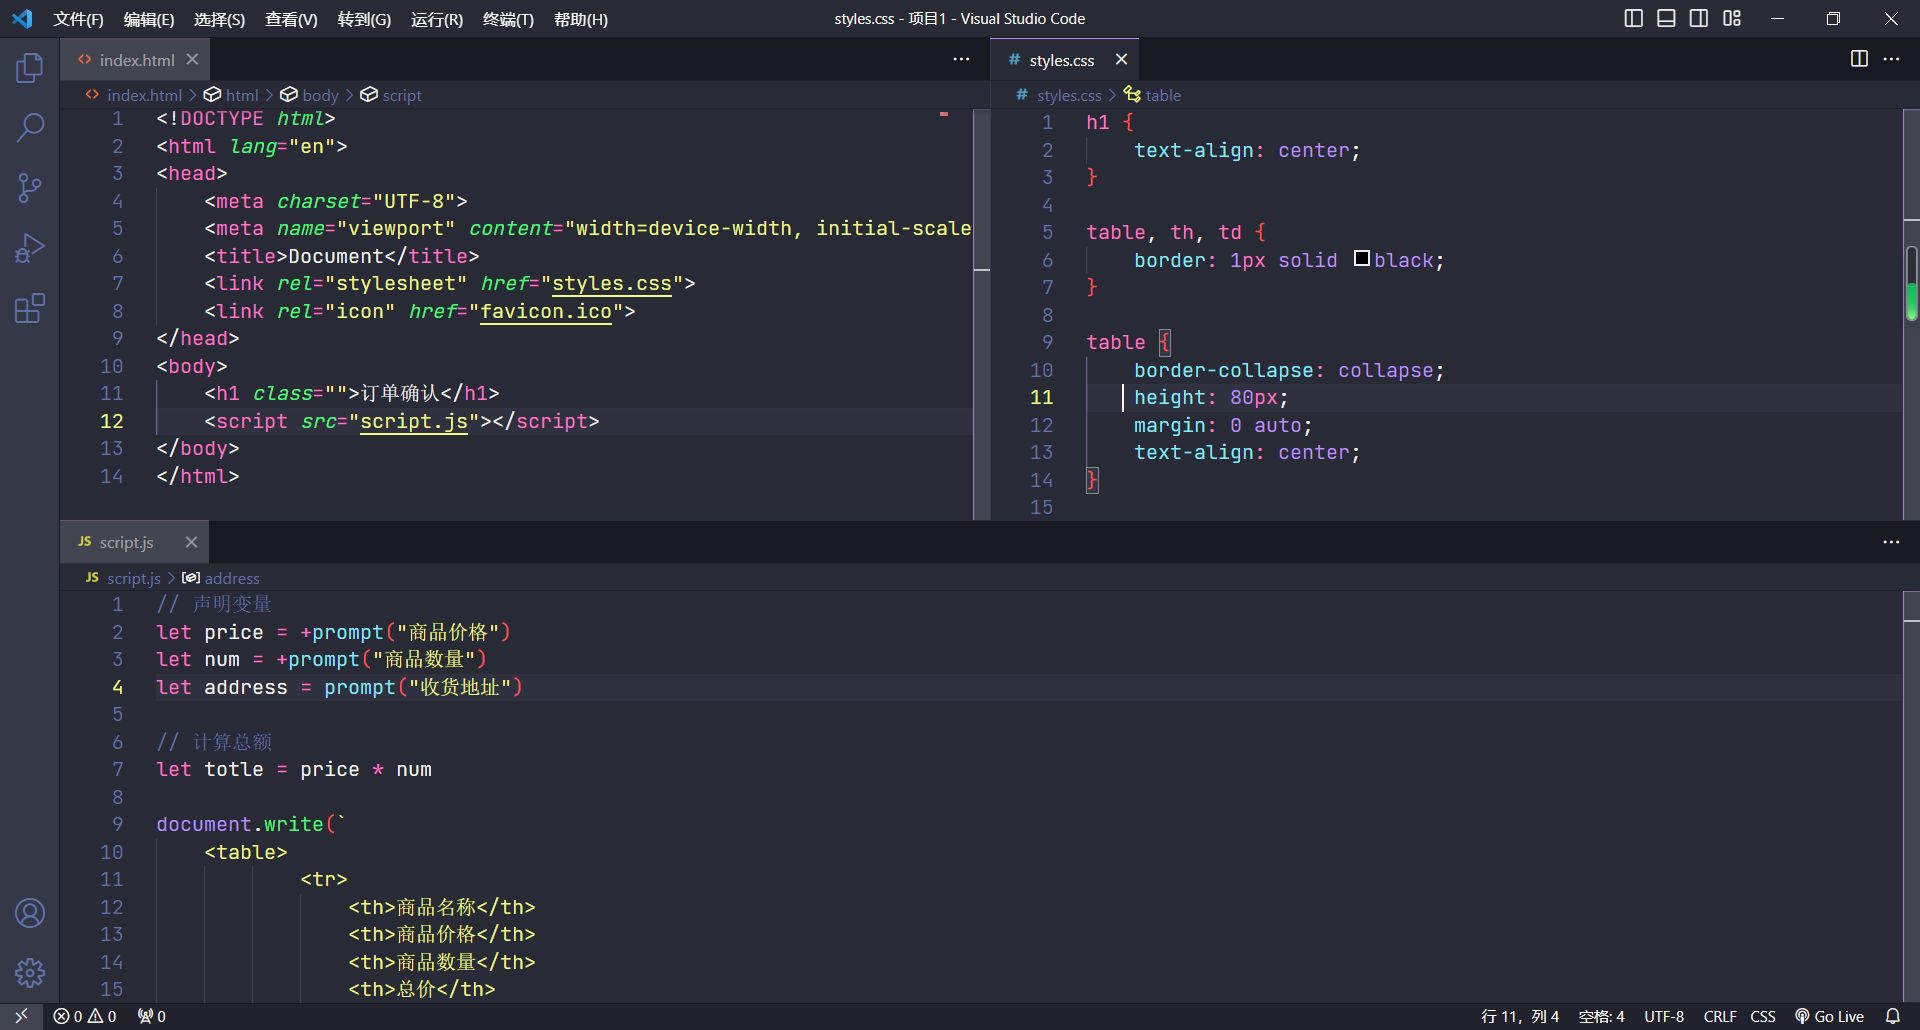
将 JavaScript 代码放在一个单独的 .js 文件中,并在 HTML 文件中通过 <script> 标签进行引用。
将 <script> 标签放在哪里
- 将
<script>标签放在<head>中会在页面加载时立即执行脚本。 - 将
<script>标签放在<body>中,特别是放在<body>的末尾,可以确保 HTML 内容在脚本执行前被完全加载。
一个推荐的现代方法是使用 defer 或 async 属性来控制脚本的加载和执行顺序:
使用 defer
defer 属性会使脚本在 HTML 完全解析后才执行,同时保持脚本的执行顺序。
1 |
|
使用 async
async 属性会使脚本异步加载,一旦加载完成立即执行,不保证执行顺序。
1 |
|
通过这些方法,你可以在 HTML 文件中正确地链接和使用 JavaScript 文件。
输入输出
输入
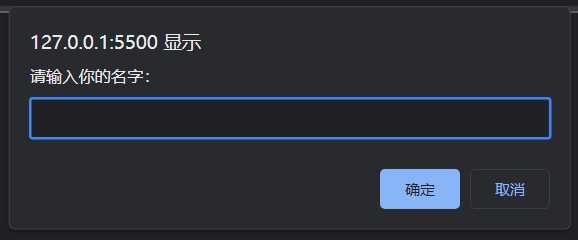
prompt(): 用于向用户显示一个对话框,要求用户输入一些文本。返回用户输入的字符串。
1 | // 输入 |
prompt() 获取的数据均为字符串(string)型

输出
alert()
alert(): 用于向用户显示一个包含消息的警告框。用户必须点击确认按钮才能继续。
1 | alert("这是一个警告框!"); |

document. write()
document. write(): 直接将内容写入 HTML 文档。在页面加载过程中或作为页面的一部分进行调用。

console. log()
console. log(): 将消息输出到浏览器的控制台,通常用于调试代码。
1 | console.log("这是一条日志信息"); |

变量
声明变量
var:可以在函数作用域内声明变量,但在块作用域内无法限制其作用范围。
1 | function example() { |
let:块作用域变量,声明后只能在其所在的块内访问。const:声明常量,值一旦设定便不能改变,也是块作用域。
1 | function example() { |
变量的赋值
定义一个变量后, 就可以进行赋值. 在”=”后面赋值.
1 | // 定义 |
更新变量
1 | // 定义 |
注意:
let不允许多次声明一个变量
声明多个变量
1 | let userName = "Admin", passWord = 123456 |
变量的初始化
声明变量的时候直接赋值.
1 | let age = 18 |
小练习: 变量的交换
比较经典的练习.
1 | // 声明变量 |
变量命名规则和规范
规则
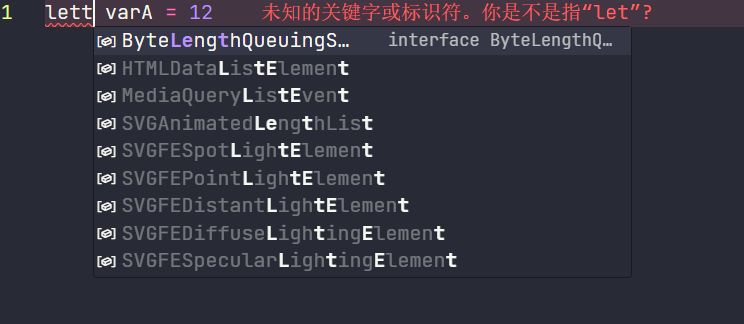
- 不能用关键词: 有特殊含义的字符,JavaScript 内置的一些英语词汇。例如:let、var、if、for 等
- 只能用下划线、字母、数字、$ 组成,且数字不能开头
- 字母严格区分大小写,如
Age和age是不同的变量
规范
- 起名要有意义
- 遵守小驼峰命名法: 第一个单词首字母小写,后面每个单词首字母大写。例如:userName
常量
概念: 使用 const 声明的变量称为“常量”。
使用场景: 当某个变量永远不会改变的时候,就可以使用 const 来声明,而不是 let。
命名规范: 和变量一致
注意: 常量不允许重新赋值,声明的时候必须赋值(初始化)
小技巧: 不需要重新赋值的数据使用 const
常量的使用
1 | // 声明一个常量 |
数组
JavaScript中的数组是一个用于存储多个值的变量。
声明语法
1 | // 创建一个空数组 |
常见的数组操作
访问数组元素
1 | var array = [1, 2, 3]; |
JS中, 索引从0开始, 且不能取负数.
添加元素到数组末尾
1 | var array = [1, 2, 3]; |
移除数组末尾的元素
1 | var array = [1, 2, 3]; |
添加元素到数组开头
1 | var array = [1, 2, 3]; |
移除数组开头的元素
1 | var array = [1, 2, 3]; |
遍历数组
1 | var array = [1, 2, 3]; |
数组长度
1 | var array = [1, 2, 3]; |
合并数组
1 | var array1 = [1, 2, 3]; |
注: 可以使用 var 和 let , 但还是建议使用 let .
数组常见方法
Slice()方法
使用
slice()方法获取数组的最后一个元素1
2
3let num = [1, 2, 3, 4, 5];
let lastElement = num.slice(-1)[0]; // 获取最后一个元素
console.log(lastElement); // 输出 5使用
slice()方法获取数组的最后两个元素1
2
3let num = [1, 2, 3, 4, 5];
let lastTwoElements = num.slice(-2); // 获取最后两个元素
console.log(lastTwoElements); // 输出 [4, 5]slice()方法的用法slice()方法返回一个新的数组,包含从start到end(不包括end)的所有元素。start和end可以是负数,这时表示从数组末尾开始计数。1
2
3let num = [1, 2, 3, 4, 5];
let part = num.slice(1, 3); // 获取从索引1到索引3(不包括索引3)的元素
console.log(part); // 输出 [2, 3]
at()方法
使用
at()方法(ES2022引入)ES2022引入了一个新的数组方法
at(),它允许你使用负数索引来访问数组的倒数第几个元素:1
2
3let num = [1, 2, 3, 4, 5];
console.log(num.at(-1)); // 输出 5
console.log(num.at(-2)); // 输出 4
lenth方法
使用
lenth展示数组长度并取最后一个元素1
2
3let num = [1, 2, 3, 4, 5];
console.log(num[num.length - 1]); // 输出 5
console.log(num[num.length - 2]); // 输出 4这样你就可以直接使用负数索引来访问数组的元素了。这个方法更直观,也更符合负数索引访问的语义。
数据类型
基本数据类型
| 数据类型 | 描述 |
|---|---|
| number | 数字型 |
| string | 字符串型 |
| boolean | 布尔型 |
| undefined | 未定义型 |
| null | 空类型 |
JS是弱数据类型,变量到底属于那种类型,只有赋值之后才可确认。
而Java是强数据类型,例如 int a = 3 必须是整型。
number
即我们数学学到的数字,可以是整数、小数、正数、负数。JS中,这些统称为数字类型。
1 | let age = 18 // 整数 |
string
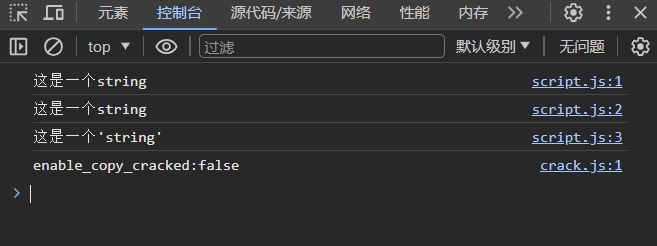
通过单引号 (‘ ‘) 、双引号 (“ “) 或反引号 ( ` ) 包裹的数据都叫字符串,单引号和双引号没有本质上的区别,推荐使用单引号。
1 | console.log("这是一个string") |

注意事项:
- 无论单引号还是双引号必须成对使用
- 单引号/双引号可以互相嵌套,但是不以自己嵌套自己(口诀:外双内单,或者外单内双)
- 必要时可以使用转义符 \,输出单引号或双引号
拼接字符串(模板字符串)
1
2
3let age = 18
document.write(`我今年${age}岁了`)用反引号和
${}实现拼接字符串.
使用 + 运算符, 可以实现字符串的拼接. 口诀: 数字相加, 字符相连.
boolean
表示肯定或否定, 他有两个固定的值, true或false
1 | console.log(3 > 4) // 输出 false |
undefined
undefined是一种原始数据类型,它表示一个变量尚未被赋值。具体来说,当你声明一个变量但没有对其进行初始化时,该变量的值就是undefined。
1 | let x; |
- 我们开发中经常声明一个变量,等待传送过来的数据。
- 如果我们不知道这个数据是否传递过来,此时我们可以通过检测这个变量是不是undefined,就判断用户是否有数据传递过来。
null
null表示”无”, “空”, 或”值未知”的特殊值.
1 | let x = null; |
null 和 undefined 的主要区别在于:
undefined表示变量已声明但尚未赋值。null是一个赋值,它表示没有对象。
引用数据类型
| 数据类型 | 描述 |
|---|---|
| object | 对象 |
检测数据类型
- 作为运算符:
typeof x(常用的写法) - 函数形式:
typeof(x)
换言之,有括号和没有括号,得到的结果是一样的,所以我们直接使用运算符的写法。
1 | console.log(typeof (3 > 4)) // 输出 boolean |
类型转换
隐式转换
某些运算符被执行时,系统内部将数据类型进行转换,这种转换称为隐式转换。
规则:
+号两边只要有一个是字符串,都会把另外一个转成字符串- 除了
+以外的算术运算符 比如-*/等都会把数据转成数字类型
缺点:
- 转换类型不明确,靠经验才能总结
小技巧:
+号作为正号解析可以转换成数字型- 任何数据和字符串相加结果都是字符串
1 | let num = +prompt("请输入你的年龄") // 输入 18 |
显式转换
Number转换成数字(数据)
1
2
3let str = '1'
console.log(Number(str)) // 输出 1也可以这样写, 这样用户输入了一个字符串可以转换为数字.
1
2
3let num = Number(prompt("请输入你的年龄")) // 输入 18
console.log(num, typeof num) // 输出 18 'number'- 转换数字类型
- 如果字符串内容里有非数字,转换失败时结果为 NaN(Not a Number)即不是一个数字
- NaN 也是 number 类型的数据,代表非数字
parseInt(数据)
只保留整数
1
2
3
4let num = +prompt("请输入你的年龄") // 输入 18.5
console.log(parseInt(num)) // 输出18
console.log(parseInt('12px')) // 输出 12parseFloat(数据)
1
2
3
4let num = +prompt("请输入你的年龄") // 输入 18.5
console.log(parseFloat(num)) // 输出18.5
console.log(parseFloat('12.5px')) // 输出 12.5
算数运算符
数字可以有很多操作,比如,乘法 *、除法 /、加法 +、减法 - 等等,所以经常和算术运算符一起。
数学运算符也叫算术运算符,主要包括加、减、乘、除、取余(求模)。
- +: 求和
- -: 求差
- *: 求积
- /: 求商
- %: 取模(取余数):开发中经常作为某个数字是否被整除
提示: 如果计算中出现NaN, 他是一个不正确的或者一个未定义的数学操作所导致的结果.
NaN是粘性的, 任何对NaN的操作都会返回NaN
字符串常见属性及方法
length
- 返回字符串的长度(字符数)。
1 | let str = "Hello, World!"; |
charAt(index):
- 返回指定索引位置的字符。
1 | let str = "Hello"; |
charCodeAt(index):
- 返回指定索引位置字符的 Unicode 编码。
1 | let str = "Hello"; |
concat(...strings):
- 连接一个或多个字符串,返回连接后的新字符串。
1 | let str1 = "Hello"; |
includes(searchString, position):
- 检查字符串是否包含指定的子字符串,返回布尔值。
1 | let str = "Hello, World!"; |
endsWith(searchString, length):
- 检查字符串是否以指定的子字符串结尾,返回布尔值。
1 | let str = "Hello, World!"; |
startsWith(searchString, position):
- 检查字符串是否以指定的子字符串开头,返回布尔值。
1 | let str = "Hello, World!"; |
indexOf(searchValue, fromIndex):
- 返回指定子字符串在字符串中第一次出现的位置,如果没有找到则返回 -1。
1 | let str = "Hello, World!"; |
lastIndexOf(searchValue, fromIndex):
- 返回指定子字符串在字符串中最后一次出现的位置,如果没有找到则返回 -1。
1 | let str = "Hello, World!"; |
slice(beginIndex, endIndex):
- 提取字符串的片段,并返回提取的部分为新字符串。
1 | let str = "Hello, World!"; |
substring(indexStart, indexEnd):
- 提取字符串中两个指定索引之间的字符。
1 | let str = "Hello, World!"; |
toLowerCase():
- 将字符串转换为小写字母。
1 | let str = "Hello, World!"; |
toUpperCase():
- 将字符串转换为大写字母。
1 | let str = "Hello, World!"; |
trim():
- 去除字符串两端的空白字符。
1 | let str = " Hello, World! "; |
repeat(count):
- 返回一个新字符串,表示将原字符串重复指定次数。
1 | let str = "Hello"; |
replace(searchValue, newValue):
- 用新的子字符串替换与指定的子字符串匹配的值。
1 | let str = "Hello, World!"; |
replaceAll(searchValue, newValue):
- 用新的子字符串替换与指定的所有子字符串匹配的值。
1 | let str = "Hello, World! World is big."; |
split(separator, limit):
- 使用指定的分隔符字符串将字符串拆分为数组。
1 | let str = "Hello, World!"; |
match(regexp):
- 使用正则表达式与字符串进行匹配,返回匹配结果数组。
1 | let str = "Hello, World!"; |
matchAll(regexp):
- 使用正则表达式与字符串进行匹配,返回一个迭代器,包含所有匹配结果。
1 | let str = "Hello, World! World is big."; |
search(regexp):
- 使用正则表达式搜索匹配项,返回匹配项的索引,如果没有找到则返回 -1。
1 | let str = "Hello, World!"; |
toString():
- 返回字符串表示形式。
1 | let str = "Hello, World!"; |
valueOf():
- 返回字符串对象的原始值(通常与
toString()相同)。
1 | let str = "Hello, World!"; |


